Buttermilk-Ranch Chili Pepper Baked Chicken
2014-03-17- Cuisine: American
- Course: Dinner, Lunch
- Skill Level: Frequent Cook

- Prep Time : 0m
- Cook Time : 60m
- Ready In : 0m
Ingredients
Brine
6 pieces of chicken (any kind)
1/2 C soy sauce
1/2 brown sugar
1/4 C salt
3 cloves of garlic
fresh herbs (I use rosemary, thyme, parsley and basil)
Dish 1:
4 eggs and 1/2 C buttermilk (whipped). You can use any other milk if you don’t have buttermilk (whole, half and half, 2%).
Dish 2:
Flour (any kind you want) with 1/2 t of salt and pepper.
Dish 3:
2 eggs, 1 C fresh ranch buttermilk dressing and 2 cloves garlic and a few splashes of Tabasco (both optional).
Dish 4:
1 C panko crumbs, 1 C whole wheat bread crumbs, 1/2 C Parmesan cheese, 1 t black pepper and 1 t red chili flakes (if you like it spicy).
Directions
Brine 6 pieces of chicken (any, with or without skin, your choice) in the refrigerator in a large pot filled with water along with 1/2 C soy sauce, 1/2 brown sugar, 1/4 C salt as well as a few cloves of garlic and fresh herbs (I use rosemary, thyme, parsley and basil). Brine for at least 12 hours, better if done overnight. Use this brine anytime you do chicken.
Remove chicken from brine, let sit for 30 minutes and then pat it dry and on set the pieces baking rack.
Grab 4 large dishes and fill each as stated in the ingredients list above.
Take chicken and dip in first pan (eggs/milk) until covered, then dip in second pan (flour) until covered. Do this for all 6 pieces. If you run out of any of the ingredients in the pans, just make more.
Continue with pan 3 and dip each piece in the egg buttermilk dressing followed by the panko/breadcrumb mixture.
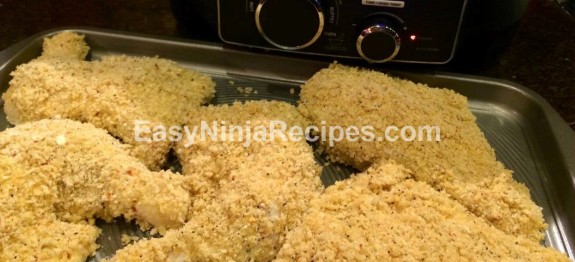
NOTE: If I had chives and/or parsley, I would have added those to the bread crumbs as well-fresh or dried will work but I always use fresh. So, once everything is dipped and done, it will look like the attached picture.
Turn the Ninja on oven 375 and put as many pieces that will fit on the rack FACE DOWN and bake for 30 minutes. Then, using tongs, turn the chicken pieces over and bake for an additional 30 minutes. DO NOT use steam bake, just the regular oven feature. If you have a lot of chicken it will take 2 batches.
TIP: This recipe will also work great in the oven on a baking pan with a rack on it. You don’t want the chicken sitting right on the pan, it needs to be elevated for even cooking and to avoid it getting soggy. In the oven, you don’t need to turn it, just in the Ninja. If you are doing a lot of chicken, the oven is a better bet. The Ninja version works good for one or two people. If you are watching calories, use chicken breasts without the skin and whole wheat breadcrumbs/panko.
IMPORTANT! Always brine your chicken for any Ninja recipe you use. It makes it super moist. For this recipe, the fresh buttermilk dressing gives it a great flavor. I use fresh from the refrigerated section of the store like Simply Dressed and NOT the unrefrigerated heavily processed dressing (Wishbone). This makes it different from most recipes and gives it a nice flavor. You can also use Italian, Cesar or even blue cheese if you are so inclined. Experiment and enjoy!

Average Member Rating
(0 / 5)
0 people rated this recipe
Related Recipes:
-
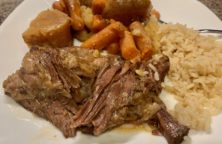
Easy Roast and vegetables – Ninja Foodi
-
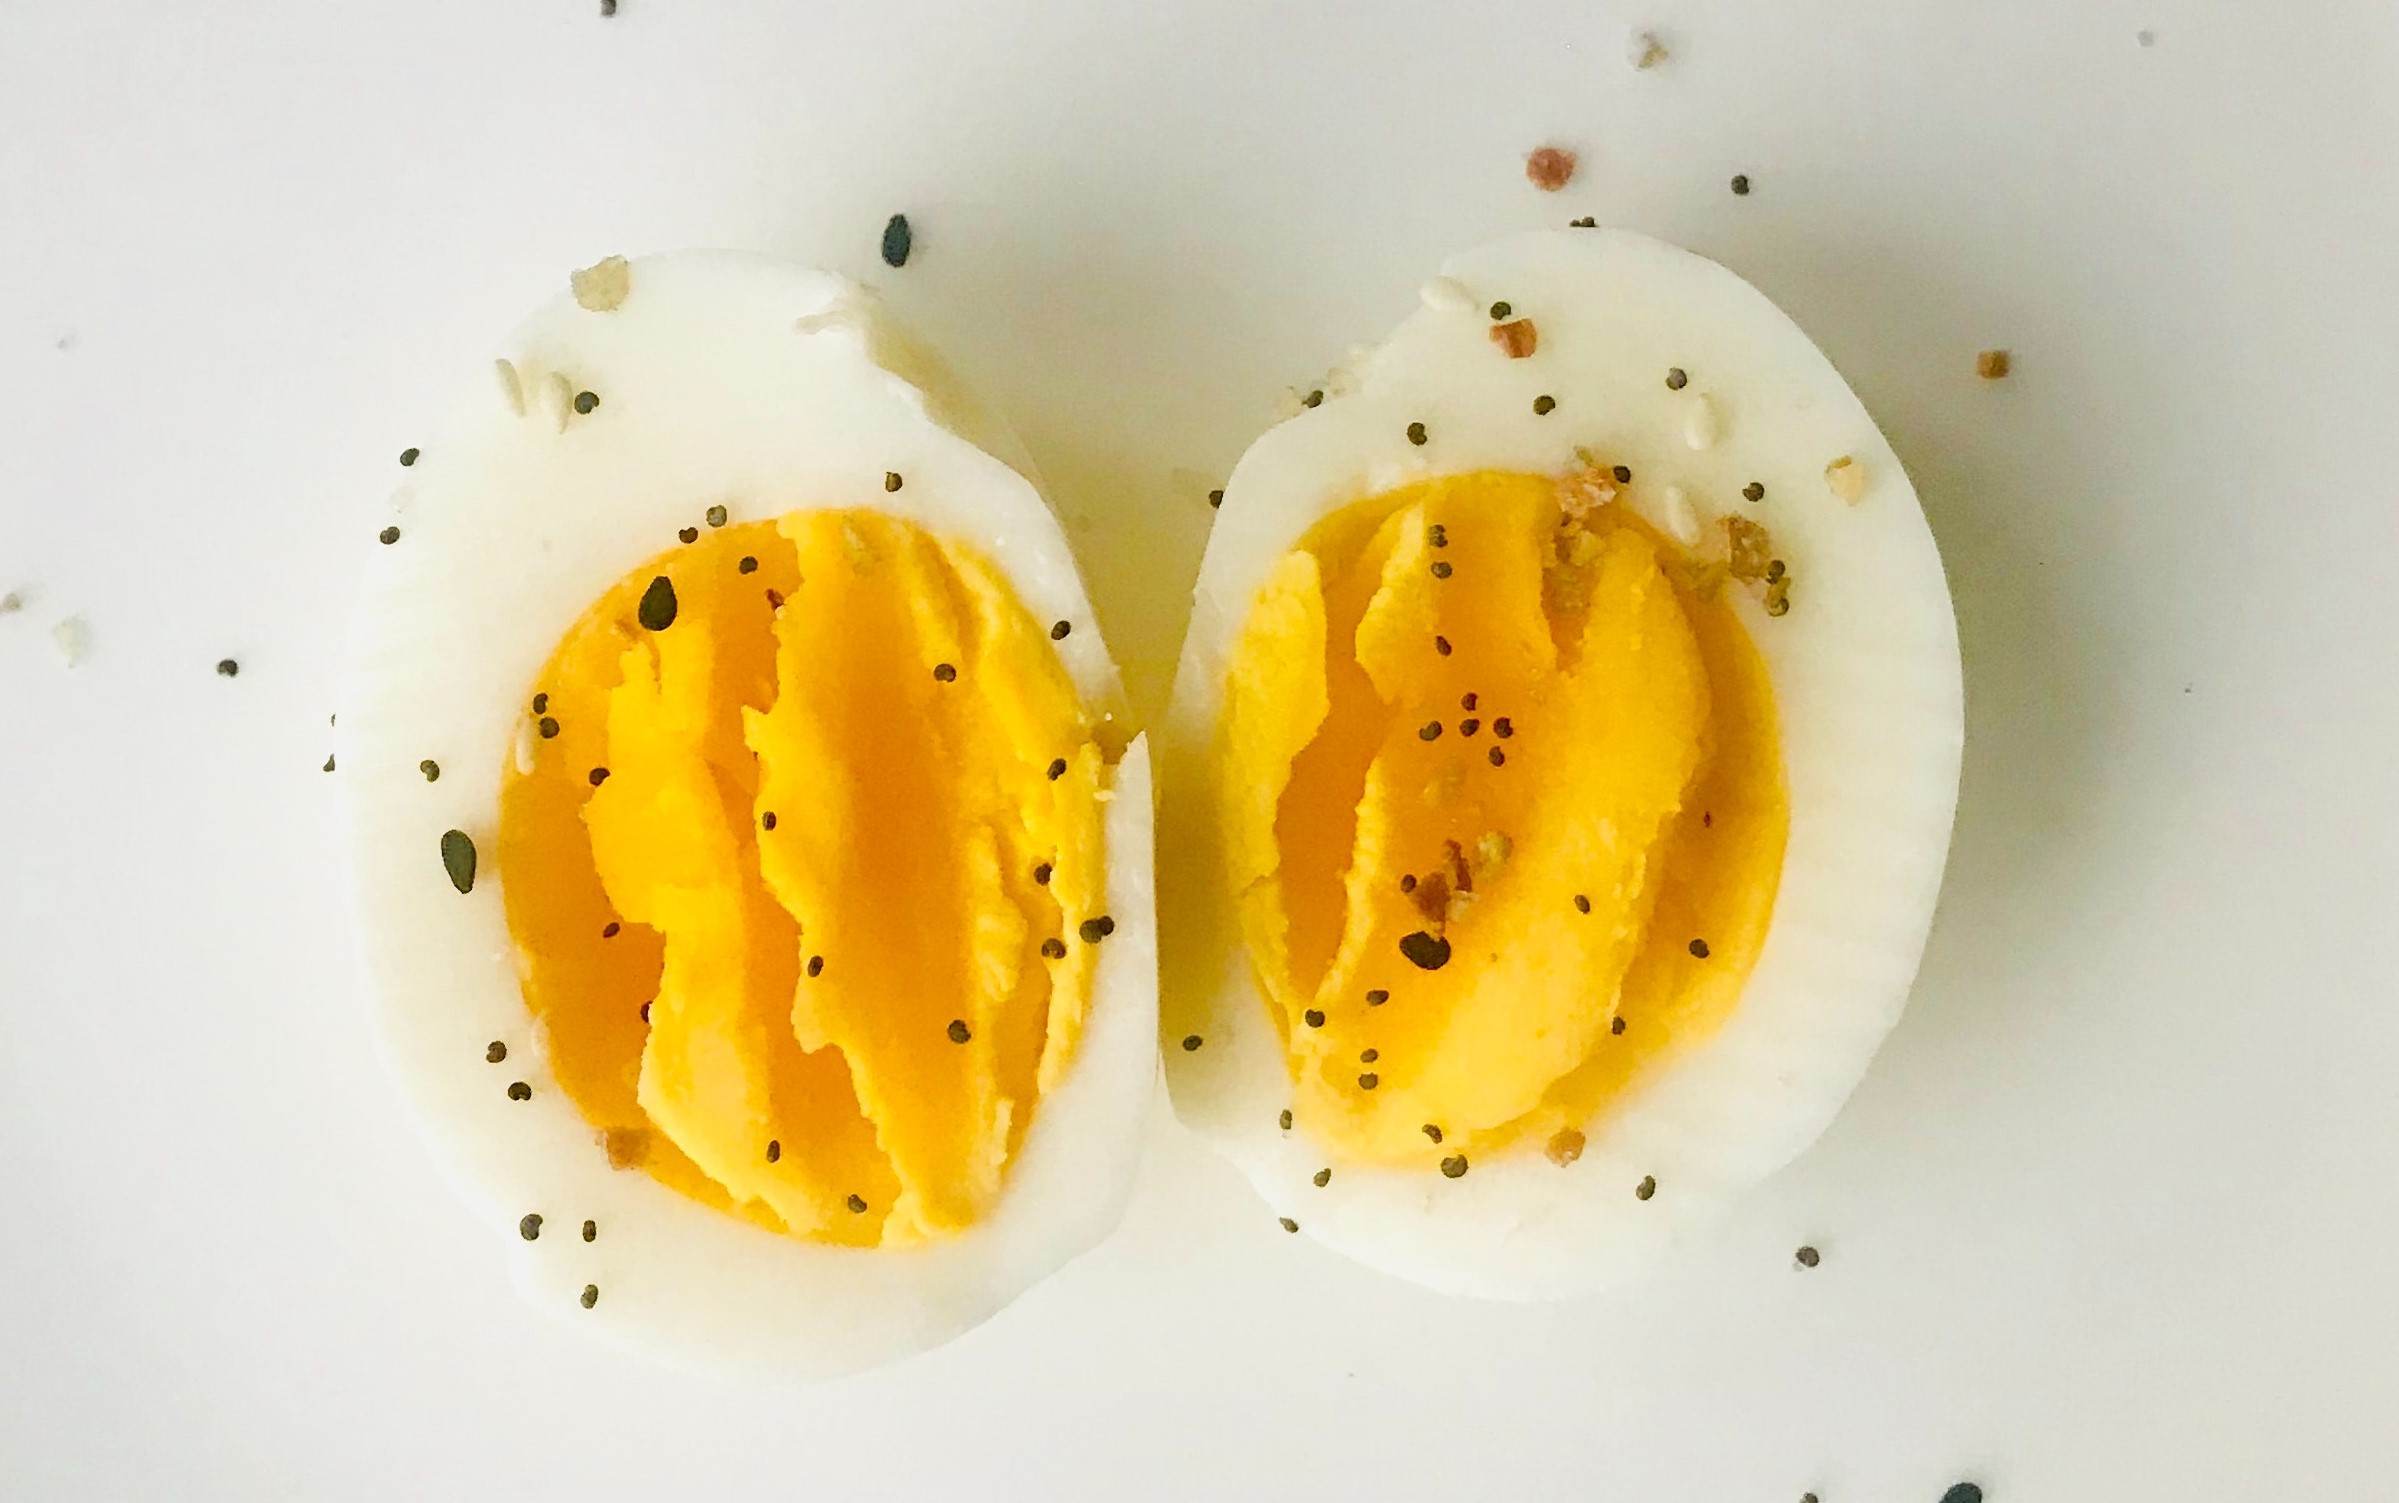
Hard Boiled Eggs – Ninja Cooking System
-
Foodi Hard Boiled Eggs
-

Buffalo Chicken Dip
-

Easy Cheese Dip
Shop Online? Click Here!
